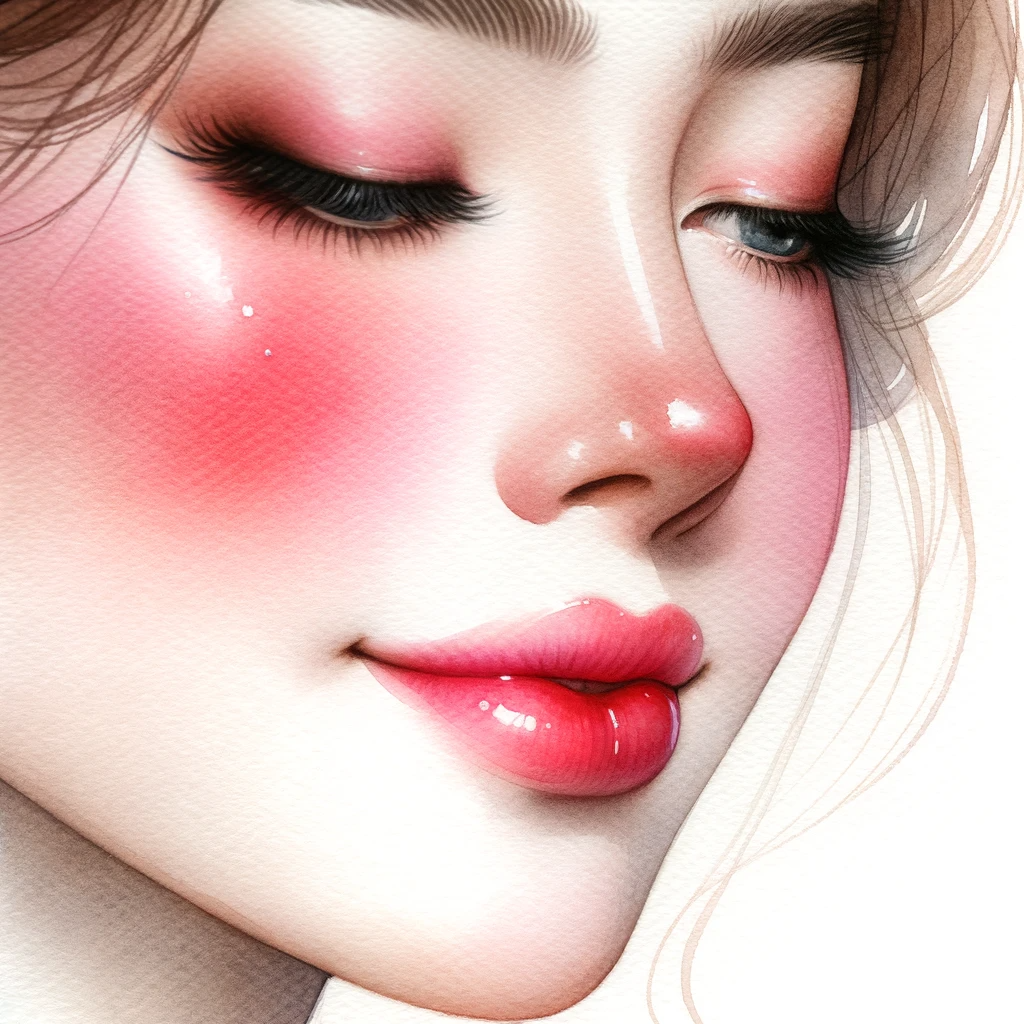
The Basics of Blush On
Delve into the world of blush on, an essential cosmetic that brings life and radiance to every face. With varying textures and shades, there’s a blush on for everyone. Whether you’re a beginner or a pro, understanding the basics can transform your makeup game.
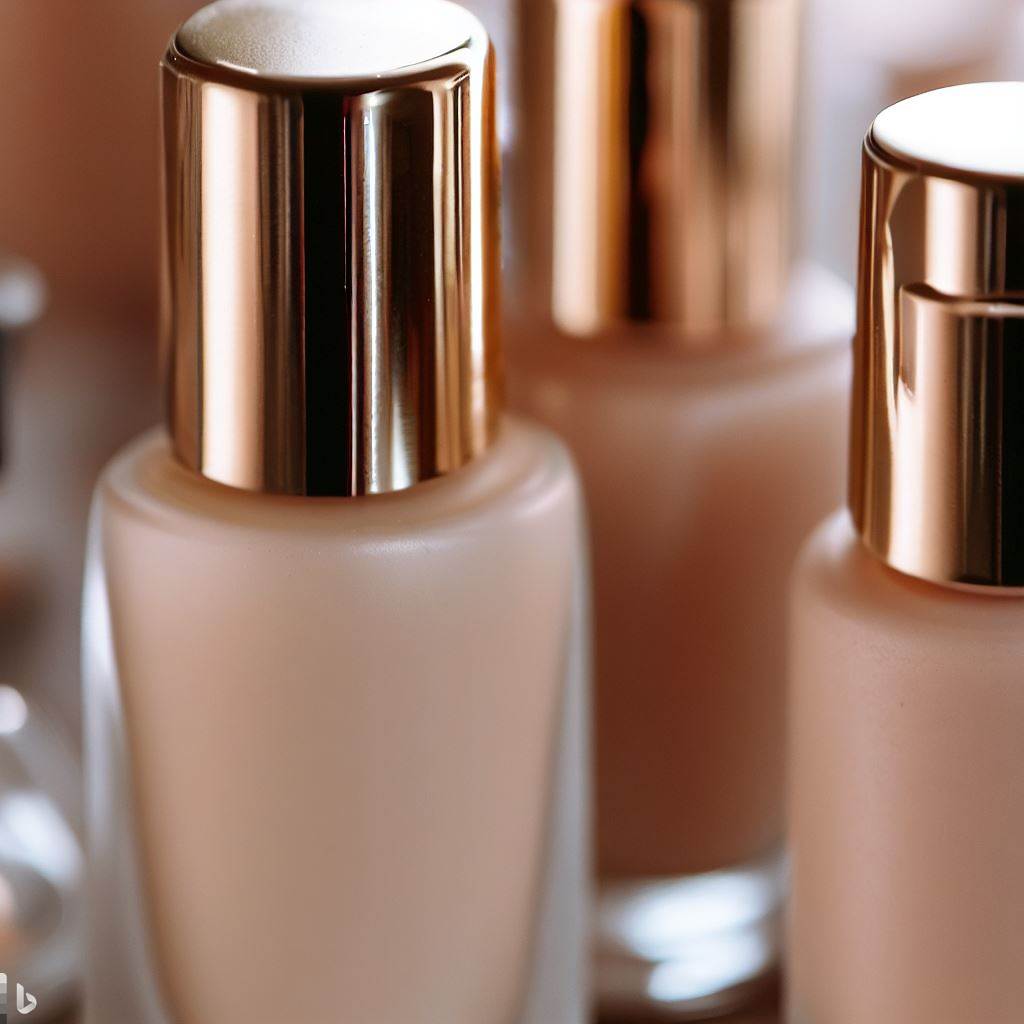
Understanding Blush On Types: Cream, Powder, and Gel Every blush on type offers unique advantages, catering to different skin types and occasions:
Cream Blush: Perfect for dry to normal skin, cream blush offers a dewy finish that melds seamlessly with the skin. Apply with fingers or a stippling brush for best results.
Powder Blush: Ideal for combination to oily skin, powder blush provides a matte finish and tends to have longer staying power. Use an angled blush brush for a flawless application.
Gel Blush: This lightweight formula gives a sheer, natural finish, making it perfect for a no-makeup look. It’s universally suitable and is best applied with fingertips.
The Importance of Choosing the Right Shade for Your Skin Tone
Finding the right blush on shade is crucial for a natural and radiant look:
Fair Skin: Opt for soft pinks, peaches, or light corals to enhance your natural flush.
Medium Skin: Warm mauves, rich peaches, and deep corals will complement your complexion beautifully.
Dark Skin: Vibrant berries, deep oranges, and bronzed roses will make your cheeks pop.
Revolutionary Blush On Techniques
Unleash the true potential of blush on with modern techniques that go beyond the apples of the cheeks. These transformative methods can elevate your entire look, enhancing facial features and skin tone.
The “3” Technique:
Contouring with Blush On This innovative technique involves applying blush in a ‘3’ shape, starting from the temples, sweeping below the cheekbones, and curving down around the jawline. This method not only adds a rosy hue but also contours the face subtly, providing dimension and a lifted appearance.
Layering:
Combining Cream and Powder for Longevity For a blush that lasts from dawn till dusk, consider layering:
Step 1: Start with a cream blush, dabbing it on the cheeks for a hydrated, natural glow.
Step 2: Set the cream with a coordinating powder blush. This seals in the color and ensures longevity, while also intensifying the shade.
The Natural Flush:
Where to Apply Blush On for a Sun-Kissed Look For a sun-kissed, just-back-from-vacation glow, apply your blush on in places where the sun naturally hits your face:
Forehead: A light dusting near your hairline.
Nose: A tiny dab on the bridge.
Cheeks: Focus on the highest points, rather than the center.
Chin: A light sweep to tie the look together.
Remember to blend well, ensuring there are no harsh lines, for a seamless sun-kissed effect.
Blush On Application Tools Mastery
When it comes to applying blush on, the tools you choose can significantly influence the final outcome. From achieving a soft, natural flush to a more sculpted, dramatic look, mastering the right tools is essential.
Brushes vs. Sponges:
Which is Best for Blush On? Both brushes and sponges have their merits in the world of blush on application:
- Brushes:
- Pros: Offers precision, especially angled brushes that fit perfectly on the contours of the cheeks.
- Cons: Can sometimes lead to patchy application if not used correctly.
- Best for: Powder blushes, and for those looking for a diffused, airbrushed finish.
- Sponges:
- Pros: Helps in achieving a seamless blend, especially with cream or liquid blush on.
- Cons: Might absorb some product, leading to wastage.
- Best for: Cream and liquid blush on, and for those aiming for a more dewy finish.
Cleaning and Maintaining Your Blush On Tools Maintaining hygiene is crucial, not just for the longevity of your blush on tools but also for skin health:
Frequency: Clean brushes and sponges at least once a week to prevent bacterial buildup.
Method: Use a gentle shampoo or a specialized brush cleaner. Rinse thoroughly and lay flat to dry.
Storage: Store brushes upright in a holder and keep sponges in a breathable mesh bag to ensure they stay clean and dry.
Advanced Blush On Hacks
Dive deeper into the world of blush on with these advanced techniques that can elevate your makeup game, ensuring a flawless and lasting finish.
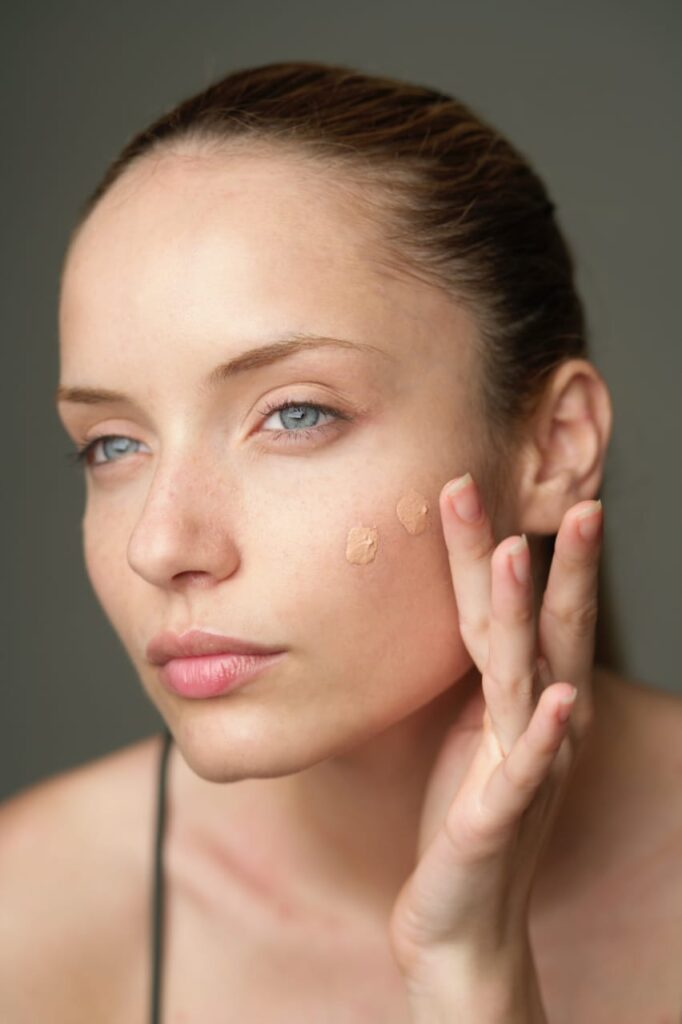
Mixing Blush On with Foundation for a Subtle Glow Achieve a radiant, lit-from-within glow by blending your blush on with your foundation:
Step 1: Take your usual amount of foundation on the back of your hand.
Step 2: Add a small dab of liquid or cream blush on.
Step 3: Mix and apply as usual. The result is a subtle, all-over rosy glow that looks effortlessly natural.
The Power of Setting: Ensuring Your Blush On Stays Put Lock in your blush on for an all-day finish:
Prep: Start with a primer to ensure a smooth canvas.
Layer: As mentioned before, layering a cream blush followed by a powder blush can increase longevity.
Seal: Finish with a setting spray to lock in the blush on, preventing it from fading or smudging throughout the day.
Overcoming Over application: How to Tone down Too Much Blush We’ve all been there – a heavy hand with the blush on, leading to overly rosy cheeks. Here’s how to dial it back:
Blend: Use a clean brush or sponge to diffuse the color outwards.
Foundation: Dab a bit of your foundation over the blush on to neutralize the intensity.
Translucent Powder: A light dusting can help mute the color and bring it back to a more natural hue.
Make the Most of Your Blush On
To truly master the art of blush on application, you must understand how it interacts with other face products and how to adapt it for various occasions. By integrating other cosmetics and tweaking your technique, you can transform your look effortlessly.
Integrating Highlighter and Bronzer with Blush on merging your blush on with highlighter and bronzer creates a seamless gradient, adding depth and luminosity to your face:
Bronzer: Apply bronzer in the hollows of your cheeks, along the temples, and the jawline for a sun-kissed contour.
Blush On: Apply on the apples of your cheeks, blending upwards towards the hairline for a youthful flush.
Highlighter: Dab on the high points of your cheeks, the bridge of your nose, and the Cupid’s bow for a radiant glow. Ensure it merges smoothly with the blush on.
Transitioning Blush On from Daytime to Evening Looks Adapting your blush on for different times of the day can elevate your entire makeup ensemble:
Daytime: Go for a subtle, natural hue, lightly applied for a fresh-faced appearance.
Evening: Opt for a more intense shade or even layer different shades. You can also play with shimmery blushes for a glam touch.
Final Thoughts on Perfecting Your Blush On Game
Blush on is more than just a cosmetic; it’s an expression of artistry. Perfecting its application and staying updated with trends ensures that you are always putting your best face forward.
Embracing Experimentation: There’s No One Right Way with Blush On Makeup is an art, and every artist has their unique style. Don’t be afraid to experiment:
Mix shades: Blend two or more blush on shades to create a customized hue.
Textures: Play with cream, powder, and gel formulas to discover what works best for you.
Application areas: Apart from cheeks, consider a dab on your eyelids or lips for a monochromatic look.
Staying Updated on Blush On Trends and Innovations The world of cosmetics is ever-evolving, with new techniques, products, and trends emerging regularly:
Follow experts: Keep an eye on makeup artists and beauty influencers for the latest in blush on trends.
Attend workshops: Join makeup classes or webinars to learn and refine your skills.
Product innovations: Brands continuously launch new blush on formulas and shades. Stay updated to enhance your makeup arsenal.
FAQs:
- What’s the best blush formula for my skin type?
- Answer: For dry skin, cream or liquid blushes offer a hydrating and dewy finish. For oily skin, powder blushes can help absorb excess oil and provide a matte finish. Gel blushes are versatile and can work well on most skin types.
- How do I choose the right blush shade for my skin tone?
- Answer: As a general guideline, fair skin tones can opt for soft pinks and peaches, medium skin tones can go for apricot or mauve shades, and deeper skin tones can choose from berry, brick, or tangerine shades. However, experimenting is key, and it’s all about personal preference!
- Where should I apply blush to best complement my face shape?
- Answer: For round faces, apply blush slightly above the apples of the cheeks and blend diagonally towards the temples. For oval faces, apply on the apples and blend horizontally. For square and heart-shaped faces, apply blush on the apples and blend slightly upwards.
- Can I use blush as an eyeshadow or lip tint?
- Answer: Absolutely! Many cream and gel blushes double up as eyeshadows or lip tints. Just ensure the product is safe for use around the eyes and lips.
- How can I make my blush last longer throughout the day?
- Answer: Start with a primer to create a smooth base. After applying blush, set your face with a setting spray or translucent powder to lock in the color.
- Is there a technique to blend blush seamlessly?
- Answer: Use a fluffy blush brush and blend in circular motions. For cream or liquid blush, you can also use your fingers to tap and blend the product into your skin.
- How can I fix blush that looks too intense?
- Answer: If you’ve applied too much powder blush, gently go over the area with a clean makeup sponge or brush to diffuse the color. For cream or liquid blush, dab a bit of foundation or concealer over it and blend.